Showing posts with label children's crafts. Show all posts

Monday, July 23, 2012

Make an indoor farm / city!!


It has still be hovering around 100 degrees here - whew!!  I'm ready for winter I tell you!  

Even the cats don't want to move........


Don't worry, when the sun goes down and it cools off a bit, they get frisky and run around and play!

Anyway, my oldest is still at camp and my little one wants a constant playmate.  So we built an "indoor farm / city."


 He got very creative with adding trees and fields full of different crops.


Big trucks loading hay bales - what excitement!!!


Spraying a field of soybeans......I think.......


At one point, he had LEGO guys helping out.


Fill 'er up!  Yes, that is supposed to be a gas pump - I did not major in Art in college - can you tell???


"Bridge over troubled water"..........OK, so maybe that was Simon & Garfunkel :)


Apparently, this is me - driving an Audi and living in a blue house!!  OK. 


The city is getting larger and larger.  Even has a tunnel under the bar stools.


 I have a feeling we'll have this one around for several days!


Saturday, June 9, 2012

Marshmellows and Art bucket for summer


If you have followed my blog for a time, you know that I'm not the biggest fan of TV / Wii / video games / computers....I know, I know.....I'm the one who buys them - BUT  for me, it seems easier to limit the boys' time during the school year.

During the summer, the days seem longer and my patience seems less.......tell me a mother who doesn't feel the same way!!

We have the slip and slide / fun sprinklers / playhouse and random outside toys all ready for them in the backyard, but for those "really" hot and muggy days or even rainy days, its nice to have some other fun stuff ready at hand.

Here is some I came up with this week:

Marshmellows (large and small) a bag of each for each boy
box of 500 toothpicks
Dollar store total: $5.00


The projects started out simple, but as the time went on, the more complex they became. 

Boredom = Great Imagination


Tower that eventually was seven stories high, until it came crashing down. 


I don't know......but my four year old had a long explanation of what HE thought is was!


Yes, I'm frugal, and had them take it apart and put everything away into Ziplocs
so they can be used again (and they have several time).  
A little sticky, but it did teach them patience and sorting as well. 


Next up: The Art Bucket which now lives on the kitchen table during "non-meal" time.


I found this silver bucket in the dollar section of Target and pulled out some
favorites from our craft closet.  

stickers
markers
crayons
tape
colored and regular pencils
scissors
ruler
gluesticks

I found several mason jars, cups and an old dog treat jar and filled it up. 


Next, I found this HUGE stack of colored paper at a school supply store for cheap,
cheap, cheap!  


I find the boys stopping by multiple times a day to "create" and display on the fridge. 

Love to see what they come up with.

What projects have you set up for your kids this summer??


Wednesday, January 18, 2012

Angry Bird Craft

Is anyone else's kids obsessed with Angry Birds??

At first, I was annoyed by the whole video game
but after playing it several times, I changed my mind.
It does teach a lot about logic, strategy and physics.

Now I don't feel bad when I pass the boys my
phone in a waiting room to keep them busy for a few minutes.

Anyway - over the Christmas break - I saw a cute post
on Pink and Green Mama - MaryLea is awesome !!

So..... the school absent days post celebration and wrapping paper
grew longer and longer -

Here is what occupied us one morning:


We had a blast! 


Tuesday, December 13, 2011

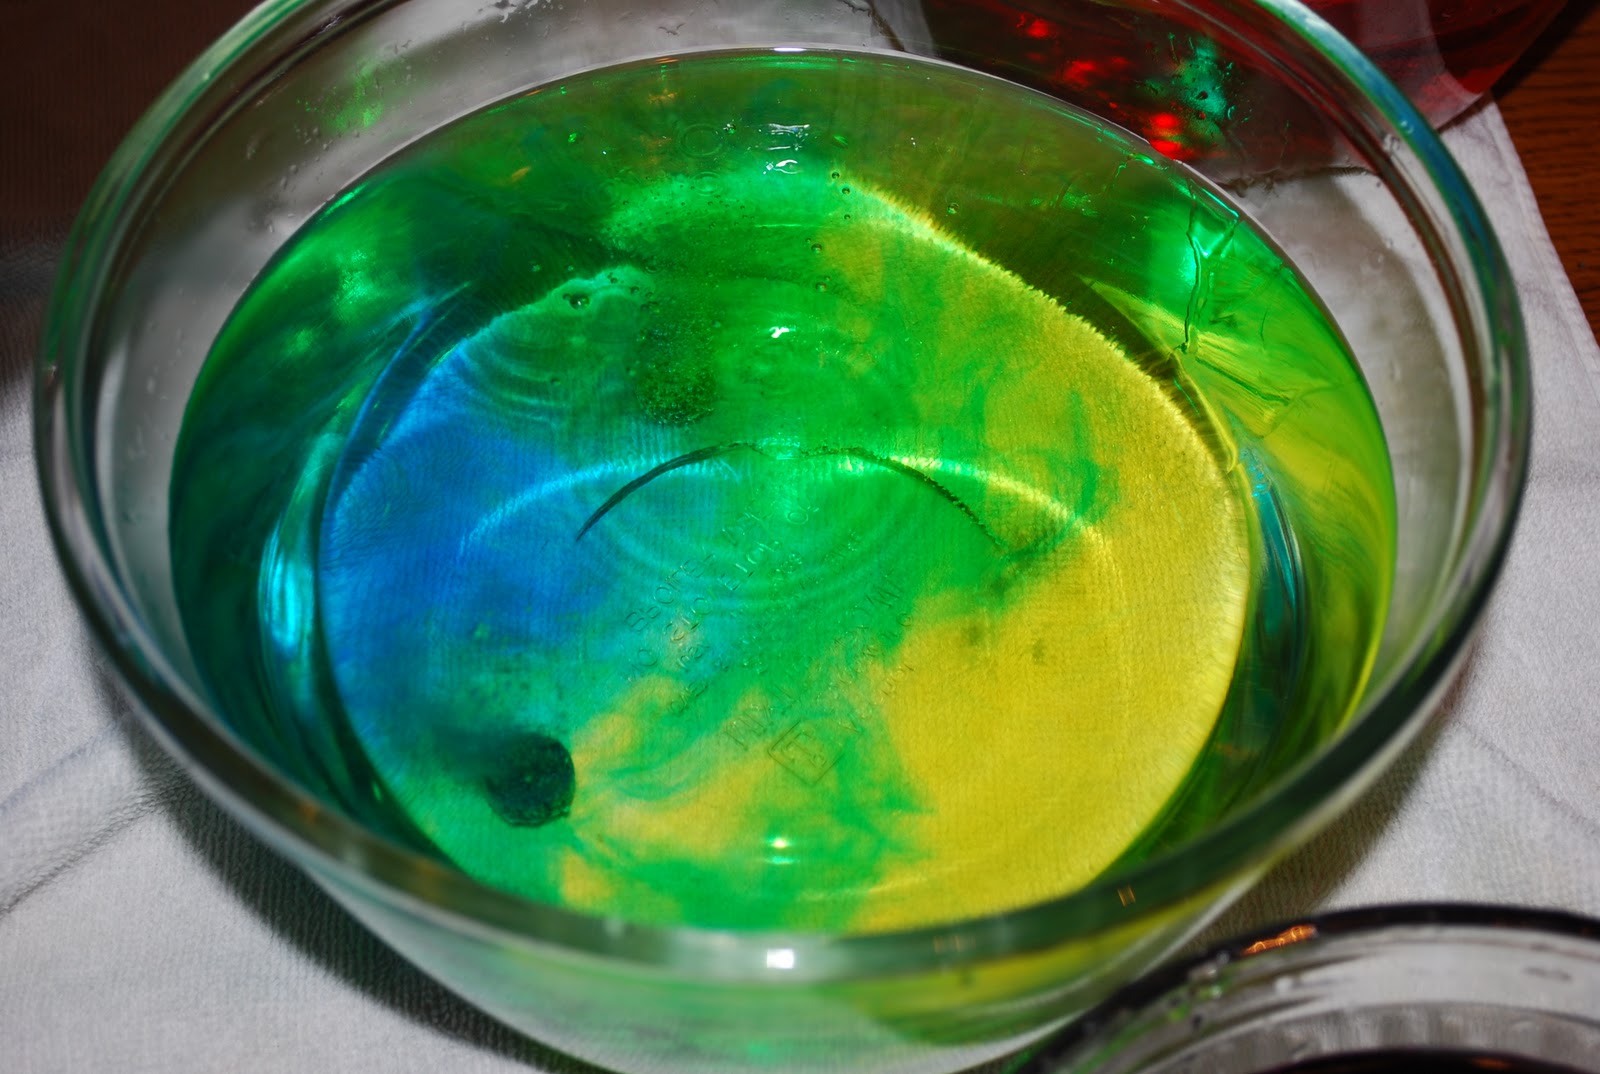
Preschool Art Lesson

This is a very easy art activity that will help
your preschooler learn the primary colors:
red, yellow and blue.


Through experimentaion, they will learn secondary colors as well.


I had my four year old make a chart so he could visualize what he had made:

Red + Blue = Purple

Yellow + Blue = Green

Red + Yellow = Orange


They are Crayola Color Bath Drops.
I found them at Target for a couple of dollars in the
kids bath section.


We also practiced our "patterns" and laced red and white
beads on bottle brushes to make candycanes.
Perfect for the tree.


Then on to handprint ornaments.


I wrote his name, age, year and added a photo to the back.
Then laminated it, punched a hole and added a ribbon.
Another great ornament for the tree.


I hope you are having a wonderful Christmas season
and are making fun memories with your kids.


Monday, August 22, 2011

"Under the Sea" Art project for Kids

This "Under The Sea" art project for kids
is so full of different textures - they'll love it.

It's so simple - and so cute!


You need:
  • blue poster board
  • several large sheets of sandpaper
  • crayons or markers
  • glue
  • tissue paper (think seaweed colors: blue, green, purple, etc.)
  • paper plates
  • scissors
  • aluminum foil

Step 1

Take the sheets of sandpaper and line them up along
the bottom of the poster board. 

Trace your cutting line.
Keep in mind that the ocean floor is not flat.
It has hills and valleys - keep it interesting!

Cut the pieces of sandpaper and glue them
to the bottom of the poster board. 

Step 2

Take your paper plates and cut a "pie shape" into
one side to make his mouth.
Then glue the pie shape to the back of the paper plate
so that it becomes the tail.


Once you've given them a tail, color and decorate them
with crayons or markers.
Give them eyes, gills, all different colors.

Step 3

Make a jellyfish.
Cut a paper plate in half.
Decorate it again with crayons / markers.
Cut a long strand of tissue paper
and glue it to the top of the plate.
Then add several long strands to the bottom.


Step 4

Take your aluminum foil and trace small fish.
Cut out and paste on the poster board.


Step 5

Add a starfish or two.
Trace a starfish design onto sandpaper and cut out.
Give the edges some color with crayons for definition
and glue on the bottom floor.


Step 6

Finally, cut some long strands of tissue paper
to add seaweed and other plant life.
Glue them onto the poster board.
Make it interesting and glue the fish going in front and behind
the "seaweed."


There you go - how simple is that?

I love all of the wonderful textures that you work with.
Ridged paper plates
Smooth and shiny aluminum foil
Gritty rough sand paper
Crinkly tissue paper

My boys loved it.
Give it a try!

LinkWithin

Related Posts Plugin for WordPress, Blogger...